The James Webb Telescope just sent back these amazing images of a dying star
Why does the universe have a 'dust surplus'? A pre-supernova star holds a clue.
This article was originally featured on Popular Science.
In the grand scheme of the universe and its stars, our sun isn’t all that powerful or special. While its death will certainly wreak havoc on the solar system, it isn’t big enough to trigger a supernova—one of the most violent cosmic phenomena we know of.
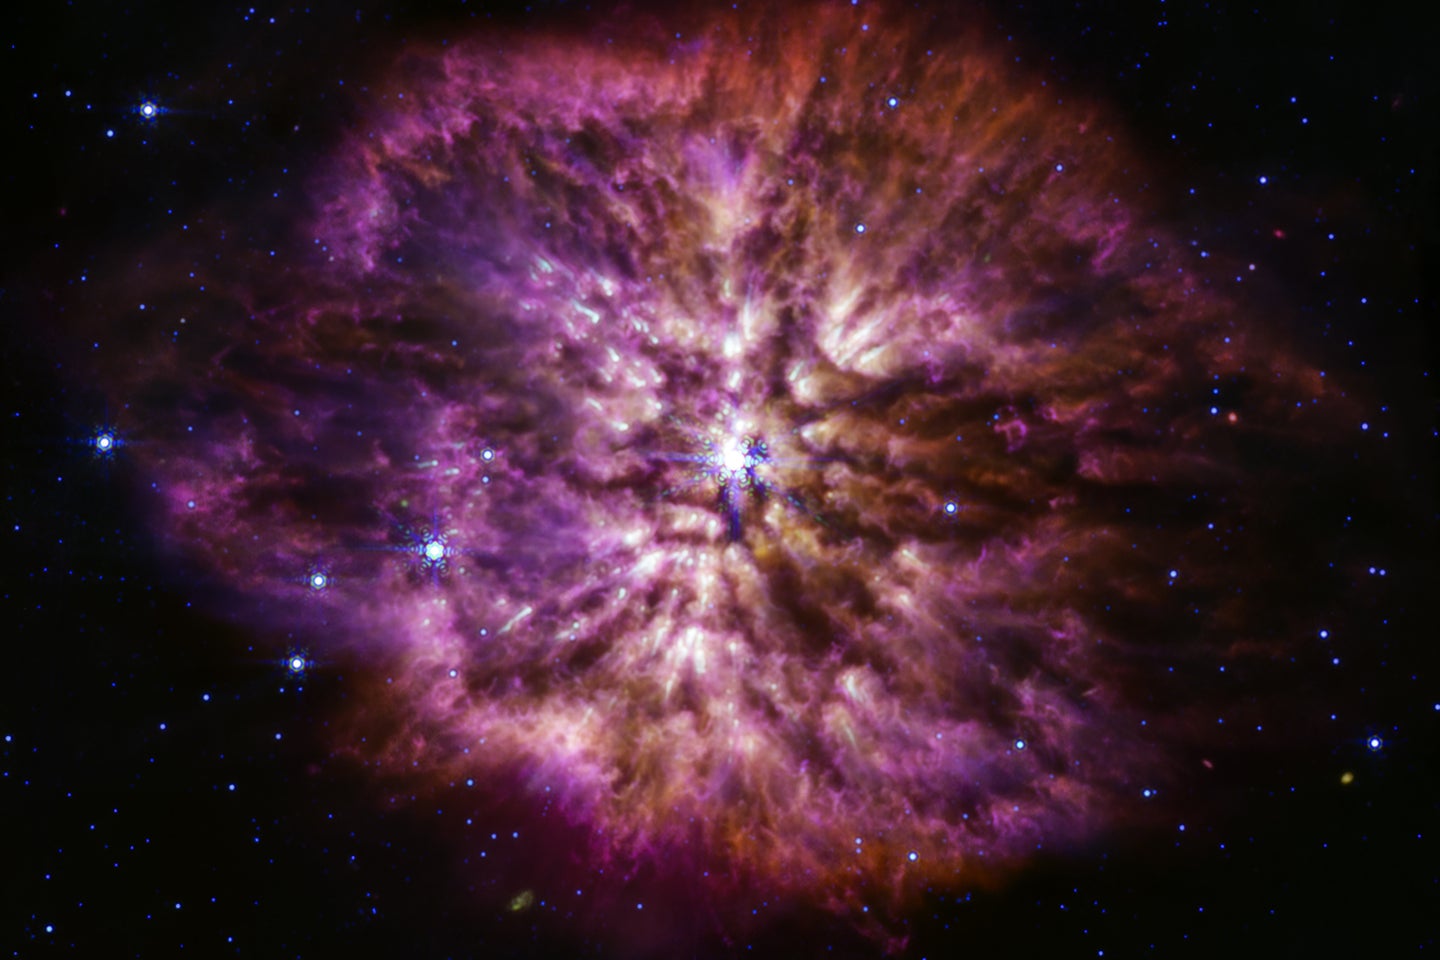
So, to understand what a star’s demise truly entails, astronomers have to zoom around to other parts of the galaxy with tools such as GAIA and the James Webb Space Telescope (JWST). One of the fascinating subjects they’ve keyed in on is WR 124, a “runaway star” that’s speeding away from home as it sheds gas, dust, and other stellar matter. Located at a distance of 15,000 light-years from Earth, it’s churning through a pre-supernova state that experts want to study up close.
A new JWST infrared image, captured last summer but shared publicly this week, exposes some of the explosive details scientists have been looking for. The telescope used a spectrograph and two of its advanced cameras to record the halo of dust emanating from WR 124. The star is currently in the “Wolf-Rayet phase,” in which it loses much of its mass to surrounding space. The bright white spot at the center shows the burning stellar core; the pink and purple ripples represent a nebula of hydrogen and other ejecta.
Stars of a certain magnitude will go through the Wolf-Rayet transformation as their lifespan winds down. WR 124 is one of the mightiest stars in the Milky Way, with 3,000 percent more mass than our sun. But its end is nye—it will collapse into a supernova in a few hundred thousand years.
In the meantime, astronomers will use images and other data from JWST to measure WR 124’s contribution to the universe’s “dust budget.” Dust is essential to the universe’s workings, as NASA explains. The stuff protects young stars and forms a foundation for essential molecules—and planets. But much more of it exists than we can account for, the space agency notes: “The universe is operating with a dust budget surplus.”
The spectacular cloud around WR 124 might explain why that is. “Before Webb, dust-loving astronomers simply did not have enough detailed information to explore questions of dust production in environments like WR 124, and whether the dust grains were large and bountiful enough to survive the supernova and become a significant contribution to the overall dust budget. Now those questions can be investigated with real data,” NASA shared.
As JWST enters its second year of exploration, the observatory will take a sweeping look at galaxies far and near to reconstruct a timeline of the early universe. But individual stars can add to that cosmological understanding, too, even if they aren’t all on a glorious death march like WR 124.