The best 35mm film in 2023
Fall in love with film photography with these popular film stocks.

We may earn revenue from the products available on this page and participate in affiliate programs. Learn more ›
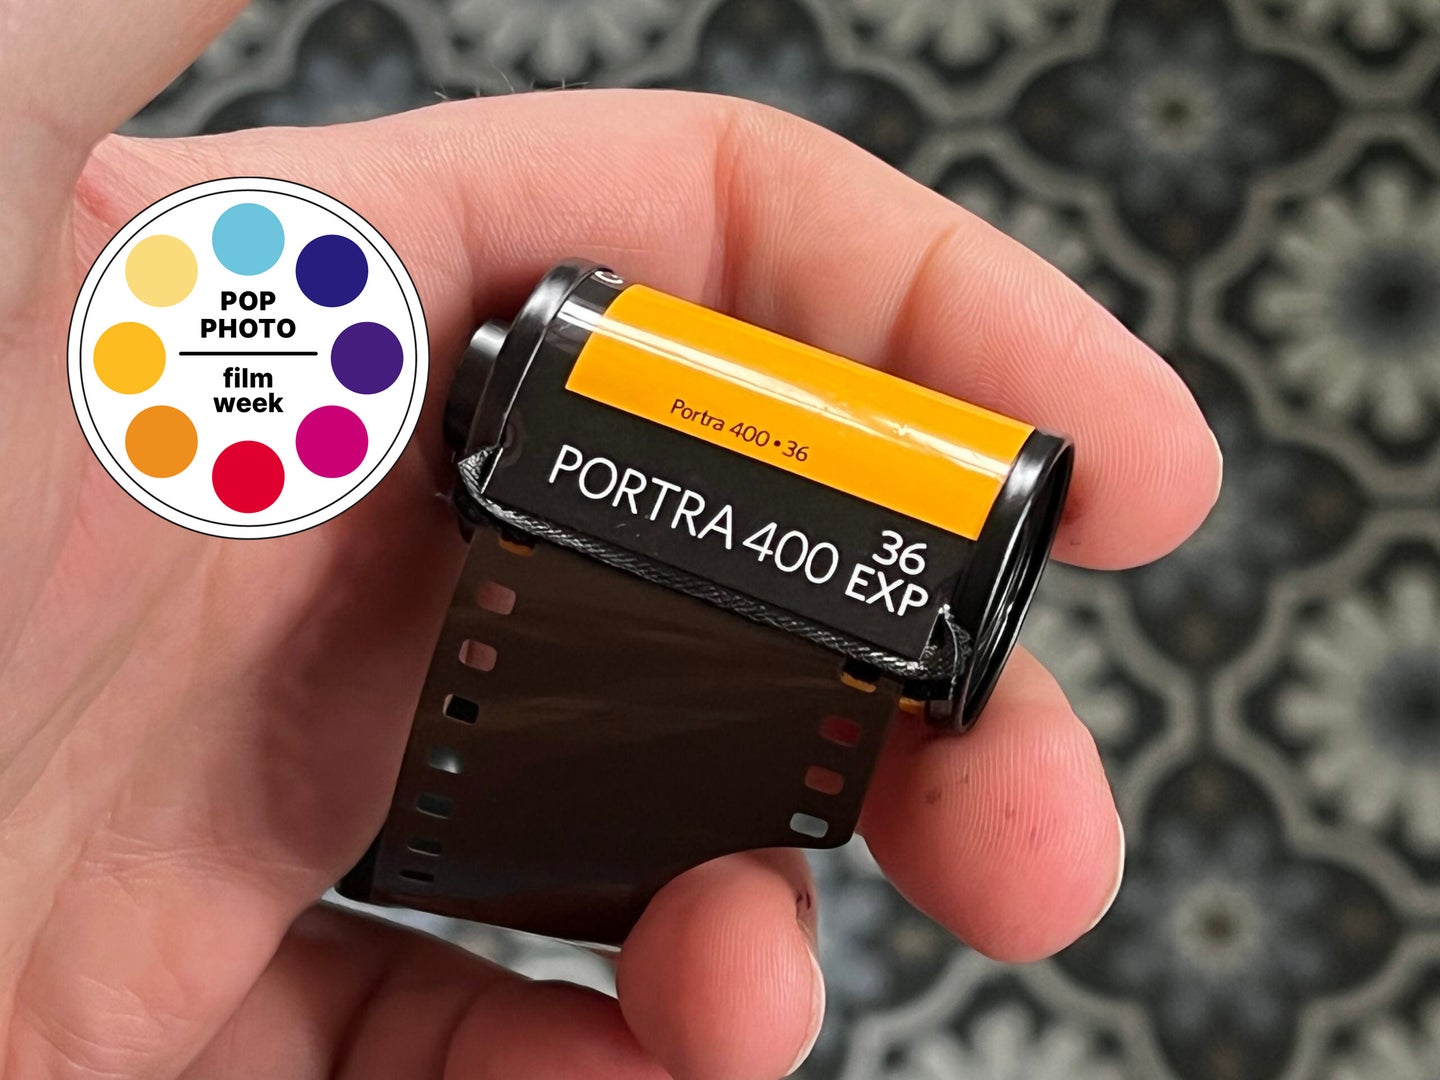
For the better part of the 20th century, 35mm film was the primary way people took pictures. Even though film isn’t what it once was, 35mm still thrives for those who are just getting started with analog photography and seasoned professionals alike. In recent years we’ve seen a big resurgence in its popularity. Brands have brought back discontinued film stocks and introduced new films to the market. There’s a look and feel to 35mm film photos that digital just hasn’t quite perfected.
Although film has certainly surged in popularity in the last few years, the prices for purchasing and developing film have continued to rise. It’s true for black and white and color. You can save money by buying rolls in bulk, learning to develop your film on your own or investing in a film scanner. If you’re buying in bulk just remember to keep anything you aren’t using right away stored in your fridge to keep it looking fresh. Keep reading to learn more about the 35mm rolls of film that we like to keep loaded in our cameras.
- Best for portraits: Kodak Portra 400
- Best black-and-white: Kodak Tri-X 400TX
- Best slide film: Kodak Ektachrome
- Best for shooting in low light: Ilford Delta 3200
- Best budget: Kodak Gold 200
How we picked the best 35mm film
We selected the film stocks in this guide based on films that we have used and continue to use. The PopPhoto writers and editors still shoot a variety of film stocks on a very regular basis. When making our selections we considered film speed, grain quality, and leniency of exposures with each film. We also considered price, film stock availability and wanted to represent a variety film styles—black and white, color film, and a color reversal film. It was important to include film stocks that are easy to find, are relatively user-friendly, and have stood the test of time.
Best 35mm film: Reviews and recommendations
Best for portraits: Kodak Portra 400
Kodak
Why it made the cut: Known for superb color reproduction and capturing natural skin tones, it’s no surprise that this stock has been a long-time favorite of portrait shooters.
Specs
- 400 speed color film
- Fine grain
- T Grain emulsion
Pros
- Fairly lenient with exposures
- Finest grain high-speed color film
- Beautiful color reproduction
Cons
- Expensive
Known for the beautiful way it renders skin tones and its superb color reproduction, Kodak Portra 400 has been a longtime favorite film stock of portrait and fashion shooters. It’s a versatile option that will give novice shooters some leeway with exposures—meaning if something is slightly overexposed or underexposed, the image will still be salvageable. Some photographers actually choose to underexpose when shooting it for a slightly punchier look. It’s a super sharp film stock and has grain so fine that it’s barely noticeable. While it’s more expensive than other rolls, it’s still relatively easy to find in stores and online—something that can’t be said of all 35mm rolls. Ultimately the beautiful frames that you can shoot with this 35mm film make us willing to pay the high price. If you are interested in shooting portraits you just can’t beat Portra 400.
Best black-and-white: Kodak Tri-X 400TX
Kodak
Why it made the cut: A classic black and white 35mm film stock that is great for shooting fast action or dimly lit subjects. It has a distinctive grain, wide exposure latitude and a beautiful high-contrast look.
Specs
- 400 speed black and white film
- Fine grain
- Panchromatic film
Pros
- Moody high-contrast look
- Lenient with exposures
- Distinctive grain pattern
- Good dynamic range
Cons
- Can be hard to find, often on backorder
A classic black and white film stock, with a moody high-contrast look and a wide exposure latitude that makes it an excellent option for anyone who is new to black and white 35mm photography. This film stock is great for shooting at fast shutter speeds and with dimly lit subjects. It has a distinctive panchromatic grain that renders images extremely clearly and sharply. It’s also still relatively affordable, but that does mean that smaller retailers often end up with this film stock on back-order. If you love shooting Kodak Tri-X 400TX we’d recommend buying in a five-pack and keeping the rolls you aren’t using tucked away in your fridge for safe keeping.
Best slide film: Kodak Ektachrome

Kodak
Why it made the cut: This color reversal film was reintroduced to the market in 2018 and is currently the most readily available slide film on the market—if you want to shoot color slide film this is your best bet.
Specs
- 100 speed color slide film
- Extremely fine grain
- Excellent highlight and shadow detail
Pros
- Easier to find than other color reversal films
- You can still get it developed
- Extremely fine grain
- Kodak T grain emulsion
Cons
- Less leniency with exposures
- Expensive
Unlike color negative film, color reversal film like Ektachrome shows you a direct positive of the image that you’ve shot and needs to be developed using E-6 chemicals. Color reversal film (or “slide film” as you may know it) is typically more expensive to buy and get developed than color negative film, and often lacks the exposure leniency—if you mess up your exposures in-camera you probably aren’t going to have much room to fix it in post. But if you are up for a challenge, Kodak Ektachrome will deliver an extremely beautiful and classic film look—there’s a reason that the creators of HBO’s Euphoria chose to shoot all of season two on the stock. It’s known for its vibrant colors and hues that favor the blue end of the color spectrum. Although it’s expensive, it’s often easier to find than color reversal stocks made my Fujifilm and getting your rolls developed doesn’t violate any EPA regulations.
Best for shooting in low light: Ilford Delta 3200
Ilford
Why it made the cut: Ilford Delta 3200 was designed to be pushed to its limits when processed—making it a great choice when shooting in extremely low lit conditions—this is a great choice for capturing the world at night.
Specs
- 3200 speed black and white film
- Designed to be push processed
- Very grainy
Pros
- Can capture fast action in dimly lit conditions
- Extremely flexible at high speeds
- Very distinct, grainy look
Cons
- Not good for daytime
- High film grain won’t appeal to everyone
Ilford Delta 3200 is the best choice if you are planning to shoot your 35mm in low-light conditions. This black and white film was designed to be push processed, which involves extra development in order to make up for a lack of light. It gives photographers who are shooting at high speeds in dark places a lot of flexibility with their exposures. This is a great choice if you are shooting in a dimly lit performance space or in the dead of night and don’t plan to use a flash. It’s distinct grainy look won’t be for everyone, and it can be a little expensive, but if you do your best work once the sun goes down, this is the filmstock or you.
Best budget: Kodak Gold 200
Kodak
Why it made the cut: Kodak Gold 200 is a great option for shooting color film without breaking the bank, although these rolls only have 24 exposures per frame, they are by far the most affordable way to shoot.
Specs
- 200 speed color film
- Wide exposure latitude
- 24 exposures per roll
Pros
- Inexpensive way to shoot film
- Nice color reproduction
- Wide exposure latitude if shooting outside or with a flash
Cons
- Only 24 exposures per roll
- Colors won’t be as vibrant as more expensive stocks
Kodak Gold 200 remains one of the best ways to shoot film inexpensively. It’s a medium speed, daylight balanced film stock that’s typically sold in packs that average out to be about $7-8 per roll. Although the colors might not be quite as vibrant or the grain quite as distinct, if you are looking for a fun way to document your friends and family on film, this is really the most affordable way to do so. It’s made for shooting outside or indoors with an electronic flash, and it still manages to have an impressive amount of latitude with its exposures. To get the best deal look for multi-pack.
Things to Consider Before Buying 35mm Film
There are a few important things to consider when shopping for the right 35mm film for you: what you will be shooting, where you will be shooting and the aesthetic that you are going for.
Black and White vs. Color
Ultimately this comes down to a choice of aesthetics and personal preference. Traditionally in a beginner photo class students are taught to shoot on black and white for a few reasons—it’s easier to develop yourself, often has more leeway with exposures and forces the photographer to study how light and shadow interact with one another through the frame. Color film can also be a great place to start though, and if you’ve ever used a disposable camera, chances are it was packed with a roll of color film.
Lighting Conditions and Subject Matter
Considering what you will be shooting and where you will be shooting it are a lot more important from a technical standpoint. Every roll of film comes rated with a film speed (aka ASA) which is similar to the ISO setting found on digital cameras. A film with a low speed like 100 is meant to be used outside or with artificial lights, while a film with a high speed like 3200 should be used indoors in dimly lit spaces or at nighttime. If you are just getting started with film photography and aren’t quite sure what you will be shooting we’d recommend starting with a 400 speed film. These films will allow you to shoot indoors or outdoors, often have a bit more leniency when it comes to nailing your exposures in camera and are a versatile choice for shooting portraits or faster moving subjects.
FAQs
Q: What is the best 35mm color film?
Choosing the best 35mm color film depends on what you are shooting, the aesthetic you are hoping to achieve and your budget. For the most flexibility you will want to look for something that has a film speed of 400—as it’s a good choice for shooting indoors or outdoors and typically has some leniency with exposures, while color films with a lower film speed are typically better suited for shooting outside with sunny conditions. Kodak Portra 400 is ultimately our favorite for shooting portraits and lifestyle, but if you are shooting film on a budget Kodak Gold 200 is a decent low-cost alternative.
Q: Which film roll is the best?
Ultimately choosing which roll of film is best for you is a highly personal choice, and one that often comes down to aesthetics. The first thing to consider when selecting what film you will shoot is if you are looking for black-and-white images or color images. A roll of Kodak TriX 400 is an excellent place to start with black-and-white film because of its pleasing contrast. Kodak Portra 400 is our favorite type of color roll because of the way it renders colors and skin tones. The best way to decide what roll of film is best for you is to experiment and shoot a bunch of them.
Q: Does it matter what 35mm film you use?
The most important thing to consider after aesthetics (black-and-white vs color film) is the conditions in which you might be shooting your film. Although the aesthetics are largely based on personal choice—it does matter what type of film you use for certain styles of shooting. You wouldn’t want to bring a roll of 100 speed film to a nightclub, in the same way that it wouldn’t make sense to bring a roll of 3200 film to shoot outside on a bright sunny day. Make sure you are matching your flm speed to the conditions in which you will be shooting.
Q: How much does 35mm film cost?
Shooting and developing film isn’t exactly an affordable way of working. Film costs have been rising in recent years—most rolls of Kodak produced film have jumped by twenty percent in the last year. The price of 35mm film varies greatly from brand to brand and depending on what type of film you are shooting. Slide film and high end films like Portra can cost you about $20 per roll, while many professional level black and white films are anywhere between $10-$14 per roll. Kodak Gold 200 remains one of the cheaper options at approximately $6 per roll if you can find it.
Q: Does 35mm film expire?
All film expires and we recommend storing your film in the fridge until it’s ready to use to keep it looking fresh. You can still shoot expired film—buying rolls of expired film, or film that is about to expire, is actually a great way to save some cash on rolls—but overtime the colors will become less vibrant and the general quality tends to deteriorate. Keeping your unused film stored in a cold place is really the best way to prolong its quality, even if it has expired.
Q: Who develops 35mm?
The resurgence of 35mm film shooters in recent years means that there are a lot more labs across the country who are developing film. If you live in an urban area chances are there is a lab near your home that can develop and scan your 35mm rolls for you—and many of them offer mail-in services as well. You can also still buy the chemicals to develop your own rolls at home—a skill that will certainly save you some money if you plan to shoot lots of film.
Final thoughts on the best 35mm film
Shooting film is a whole lot of fun and part of why we love it so much is the way that a film stock can totally change the vibe of the images that you are making. A subject shot in black and white film will likely have a very different mood to it than the same subject shot in color. We think this guide serves as a nice overview of films that work for a variety of subjects, shooting conditions and budgets, but don’t be afraid to stop here. One of the most exciting things about film is experimenting with different film stocks and developing techniques.
