Mike Padua
Contributor
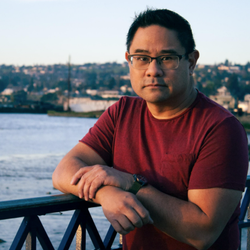
Mike Padua is a photographer and ecommerce professional, who began contributing to PopPhoto in 2021. His specialties include theatrical and musical production photography, along with actors’ headshots. He loves learning about cutting edge digital equipment, along with shooting film for his personal work. He grew up in the print and newspaper publishing industry, with his first passion being graphic design.
Highlights
- Expert in photography as a means of marketing and documentation
- Extensive graphic design expertise in the commercial printing industry
- Zea for sharing photographic passion and knowledge
Experience
Mike Padua began his career in visual communications in the commercial print industry, working as a graphic designer and consultant to businesses. Mike’s background in photography began with the simple desire of documenting the people he loves and his surroundings. Through his love for photography and visual communication he discovered the television and motion picture industry, where he worked as an on-set stills photographer for movie and television productions. His clientele grew to include theatrical and musical productions, where he created photographs for theatrical production companies throughout the San Francisco Bay Area.
He has appeared on several photography related podcasts, including The Analog Talk Podcast, the Sunny 16 Podcast, the Studio C-41 Podcast, and Matt Day’s The Shoot podcast. He has contributed to The Casual Photophile and the Silvergrain Classics Magazine and was a speaker at The Darkroom Lab’s Film Photography Paideia in 2019. Through his love for photography, he created an ecommerce store dedicated to the appreciation of film photography called ShootFilmCo.
Education
Mike graduated from Benicia High School in Benicia, CA.
Favorite photography subject
My favorite subject is my family, comprising my wife and two children, and our daily life.
Notable Work
- We Pick Our Desert Island Film with Special Guest Mike Padua of Shoot Film Co. Casual Photophile
- Portfolio Mike Padua


