Veteran photo editor Jim Colton on how all those Olympic photos get processed
Olympic photos make their way from the backs of cameras to the rest of the world in record time. Here's how that happens.
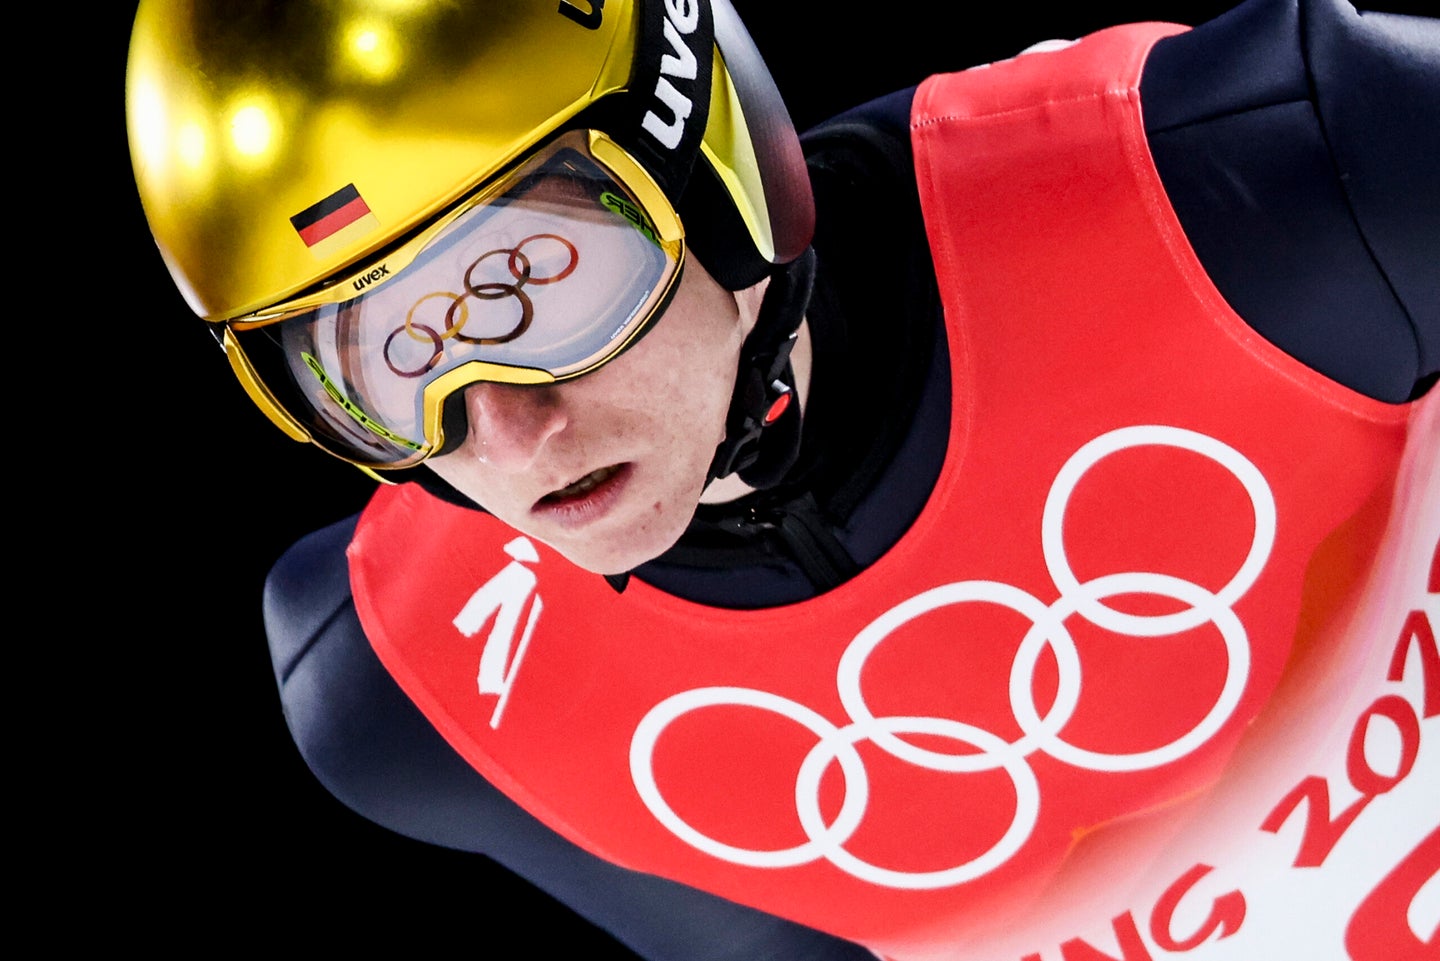
Capturing photos at the Olympic Games is truly an Olympian-level effort, from packing the right gear to scouting positions and getting indelible shots in all kinds of weather conditions. It doesn’t stop at the camera, though. With a worldwide audience watching, those photos are transmitted from photographers to editors to newswires, sometimes literally in seconds.
Photography editor and consultant Jim Colton has worked most Olympic Games in some capacity since Munich in 1972 and is currently editing the Pictures of the Day site for ZUMA Press. We caught up with him to get an idea of how these photos make their way from camera to the rest of the world, all in record time.
What’s your history with the Olympic Games?

I’ve worked I don’t know how many Olympics, starting from 1972 in Munich. But the first one I was physically at and worked was 1984 in Los Angeles. I’ve worked most of them since then, both winter and summer, but not on scene.
More recently, I’m doing some editing work for ZUMA Press, remotely from my little office in Fernandina Beach, Florida. I edit their pictures of the day site every morning, and when events like the Olympics come up, I also do that for them, specifically for their Pictures of the Day site, but also for their Instagram. I also create a thing called the Pictures of the Month for them as well.
I look at images that come in that are ingested to the ZUMA database, which is roughly on an average day somewhere between 40,000 and 50,000 images. During the Olympics, it’s easily twice, maybe three times that. I could look up just what we’ve ingested in the last 24 hours and it would be well over 100,000 images, because of the Olympics.
What’s the lag in terms of when photos are shot and when editors see them? I know some photographers’ cameras are plugged directly into Ethernet and what they shoot goes directly to an editor for super quick turnaround.

It’s gone from, in my heyday working for the wires in the 1970s and 80s, a turnaround of 5 to 10 minutes, to a remarkable turnaround within seconds now. The majority of the working photojournalists—people that are either working for AP or Getty, or working specifically for a newspaper—they are shooting and basically feeding directly to an editing station where somebody is monitoring everything that’s coming in. And an editor is choosing an image to crop, tone, caption, and put up on their website. If they don’t do that within minutes they’re behind the eight ball.
But there are also agency photographers, and wire service photographers that, in addition to supplying their daily feed, maybe submit stuff back to their agencies at a later date. Some of them are direct wired, they’re tethered from where they’re shooting, and it goes into a workstation within the facility they’re at, and an editor may be there.
Or, you know, because there’s less and less money being spent on covering these things, a lot of photographers just wait until they finish and then go to the media center, download their cards, choose what they believe are the 10-15 best, and send those off to wherever they’re going. There are different tiers, and it’s all based on immediate deadlines, pending deadlines, and whether you’re a newspaper or whether you’re a wire service. There are a variety of deadlines that everybody has.
And where are you in this process?

ZUMA press is a California-based photo agency that ingests material not only from their own photographers, but from newspapers and photographers worldwide, and other agencies worldwide. So, for example, in addition to ZUMA having I think four or five photographers working the Olympics, they also get the feed from Xinhua, the Chinese news agency, and from TASS, the Russian agency, and then they have European agencies. So no kidding, if I just look to see what came in the last hour, there would easily be 5-10,000 images, because it’s coming in from all of these photographers, agencies, newspapers, and contributors.
So ZUMA is in a bit of a different category because they’re a conglomerate. They gather material from all over, and then they resend it and then have certain rights to certain countries, etc. So, for example, there’s a Belgian agency called Belga who’s at the games, and ZUMA has the right to distribute the material to any place outside of Belgium. So this way, a client from Japan who really wants the gold medal winner of a snowboarding event, they can get that from a Belgian photographer, because they have the rights to distribute it everywhere except for Belgium.
It gives us a great opportunity to see a lot of material from a lot of different agencies. And a lot of those agencies are very focused on their own country’s athletes, which makes it interesting as well. It makes it kind of voluminous. For example, there’s a Japanese agency called AFLO. Right now, are probably the leading contenders of what’s coming in from Beijing, because they’re covering every Japanese athlete like crazy. So they’re actually putting out I would say almost five to six times as much as every other agency. So if we looked at just AFLO’s production on a daily basis, they’re probably close to 10,000 images by the end of the day.
And of those images you’re looking at, has there already been some measure of culling and picking? Or is this just a raw firehose of what’s coming from the cameras?

For my purposes, and what I’m doing now, it’s already pre-selected to a degree. Most of the photographers will not send in the firehose. When I was at S.I. [Sports Illustrated], they shot and downloaded all of the cards, and the entire cards would be transmitted. So, for example, at a National Basketball Championship, an entire load from John McDonough would come in, and the way they handled it, the RAWs would go separately, and then the JPEGs would be coming in because we can edit those quicker. In that case, everything came in—it was every frame that was shot.
In the case of the photographers that are covering now, again, everybody has different deadlines and needs, but for ZUMA’s ingest, they usually finish their shoot, go back to the press center, download their cards, and make a smaller, reasonable collection. And it’ll depend on what it is. For example, Nathan Chen winning the gold medal, there would be probably hundreds of frames that a photographer would send, whereas, with someone [competing in] Skeleton who won the gold, you might get four or five. So we rely a lot on the people that are contributing to us to take that into account.
What I’m doing now is dramatically different from when I was editing at S.I., because those are totally different needs. I’m definitely receiving a lot less imagery to look at than I used to. So [when I tell you] 50,000 to 100,000 images a day, you can imagine what I was looking at when I was working at S.I. It’s pretty remarkable.
