Honey, I shrunk the kids: Our favorite reader-submitted macro images
This week’s gallery shows off the excruciating detail of daily life, delivering everything from melancholic poetry to the heebie-jeebies.
Inspired by the recent Apple Macro Challenge, this week we asked PopPhoto readers to get small and search for the detail in their everyday. In the rote of daily life, it’s easy to forget that beauty is all around—and much of it is teeny-tiny or nearly invisible to the naked eye.
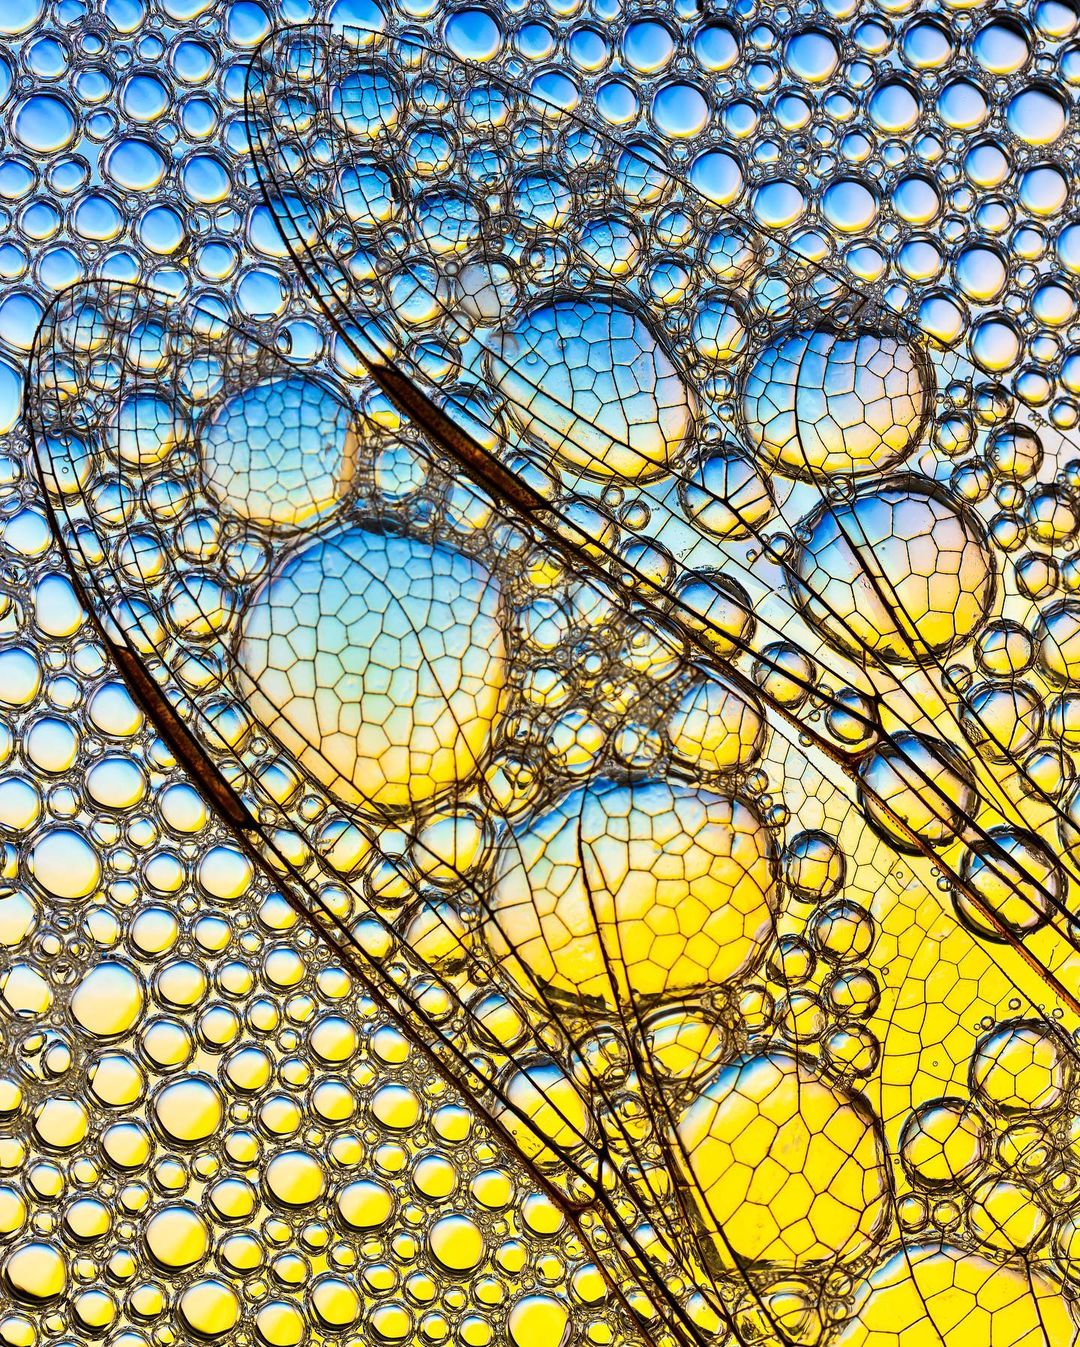
This week’s winners showed off the stunning intricacies of flowers, plants, and the critters that cling to them, including a dandelion mercifully rescued from the blades of a lawnmower and a breathtaking abstraction of dragonfly wings, shown in the lead image.
Want to see your work in a future gallery? Weekly themes are posted every Sunday and images can be submitted via Instagram (using #PopPhotoOfTheDay), Flickr, or by joining our (NEW) Facebook group. Read more about entering here.
Lead image by Raymond Choo. See more of his work here.
A pretty flower

I cannot resist a flower. Though I definitely play favorites (peony season is way too short, if you ask me), usually any flower will do. Robert Lalancette’s image beautifully showcases what I often miss—the center, since it’s usually buried in a petticoat of petals. The detail is just astounding, and it feels like there are a thousand little flowers within the larger one.
A little friend
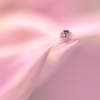
Friend or foe? I DO NOT like spiders, but this little guy somehow won me over with his cuteness, despite the fact that he’s staring at me with four eyes. The soft pink petals definitely helped tone down the menacing factor.
“I was shooting close-up abstracts of dahlias when this little jumping spider crawled to the tip of a dahlia petal,” shares winner David Terao, who shot with a Canon R5 and Zeiss 100mm f/2 Makro-planar lens. “It looked like he was watching me for a few seconds, then got bored and went back into the dahlia.”
Cycle of life
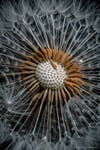
Chris Croteau’s image got me with its melancholy poetry. “A passing glance is all it took to save this little wonder from the voracious blades of my lawnmower,” he says. If that’s not poetry, then tell me what is.
Sitting pretty
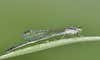
This bug made me laugh—maybe it’s just the way the eyes are set but this little guy looks so unimpressed. Jokes aside, the detail in the wings and water droplets is impressive.
“This has always been one of my favorites,” shares photographer Mark Burgess. “It received [an] honorable mention in the local camera club contest.”
Undersea adventure

If abstraction is the name of the game, then this photo got me. Am I looking at pipes? An aqueduct? A squishy sea creature? Turns out, none of the above.
“Although it’s an undersea adventure it wasn’t underwater any longer!” Robert Norris writes. The image shows “details of a scallop shell that was left on the beach by some random gull that ate the scallop.”
Yellow lily
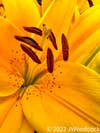
As previously stated, flowers are the way to get me. This cheerful lily by John Woodcock sure did, with a sprinkle of freckles to boot.
