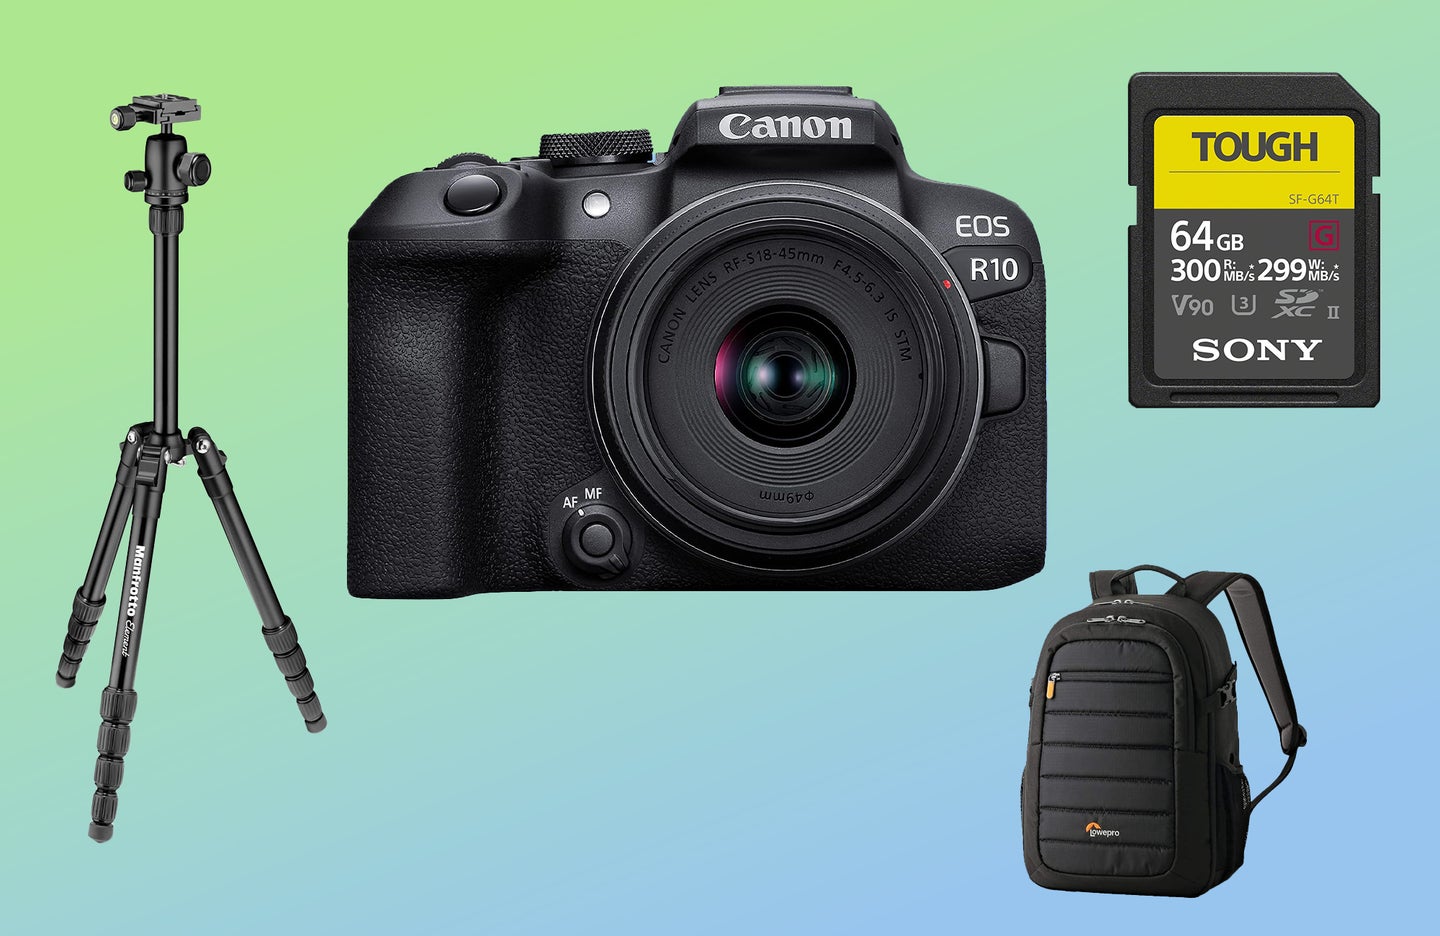
Six essential pieces of gear for your photography class this fall
These six pieces of equipment will build a great kit to get you started in your class.
We may earn revenue from the products available on this page and participate in affiliate programs. Learn more ›
Signing up for a photography class is exciting. But, looking at the gear list may lower that level of excitement slightly. With so many different options available for every piece of gear you’ll need, it can be confusing to figure out what to buy. You’ll want to make sure to get quality gear that fits your class’ requirements and gives you some room to grow. So while it may be tempting to go with the cheapest options, that isn’t always the best choice.
We chatted with Myra Holt, an Assistant Professor of Photography at Baker University, to get some insight into what is required in most photography classes. And since every individual class has different requirements, she also provided some general tips for those buying gear for the upcoming semester. Whether you are buying your first camera or looking to upgrade for your fall semester photography class, here’s what you should be looking for in your new camera equipment.
Camera
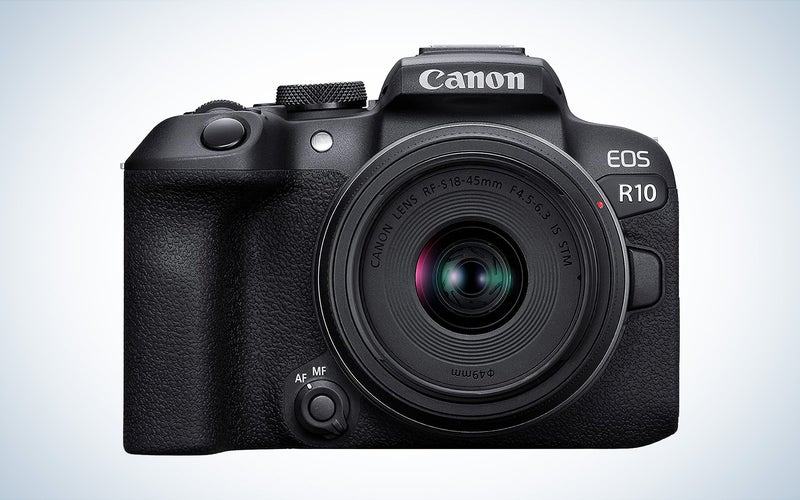
Canon
This may go without saying, but the camera is the most important part of setting you up for success in your photography class. While there are some courses that allow for smartphone use, most require a dedicated camera. Holt explained that the main thing to look for when shopping for a camera for your class is one that offers full manual capabilities. You will be learning all about exposure and how to control it in your class, so you need to be able to manipulate the aperture, shutter speed, and ISO on your camera.
Holt explained that one common mistake she sees is that students “are not reading through the camera information closely. Some point and shoots look like DSLRs or mirrorless cameras but aren’t, so students will use those in class and have limited ability to work fully with settings like aperture and depth of field.” Be sure to look carefully at what camera modes are available and verify that you are purchasing a mirrorless or DSLR camera with manual mode.
Interchangeable lens cameras
Beyond choosing a camera with manual controls, you’ll likely also want (or perhaps even need) an interchangeable lens system. Interchangeable lens cameras don’t utilize a built-in lens, instead allowing you to swap out different lenses as you see fit. They offer a lot more flexibility since you won’t be confined to whatever happens to be on the camera. But be sure to budget enough for a lens on top of the camera body.
Additional features and specs
After those two main features, there are lots of other smaller details to consider. Some of the main aspects are sensor size, mirrorless versus DSLR, and video quality. It can easily get overwhelming, we know. For more details on what to look for in a beginner camera, you can check out this guide on just that. Or, if you are looking for a specific brand, such as Canon, Nikon, or Sony, you can find specific tips for those camera systems as well.
Lens
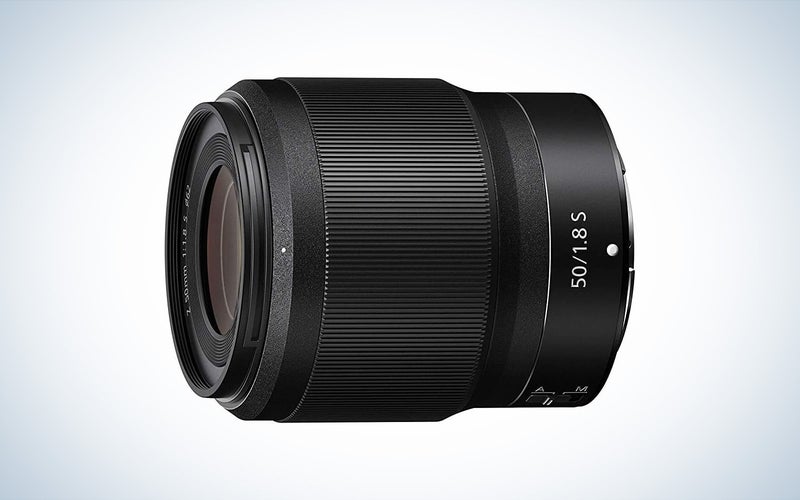
Nikon
Since you’ll likely be picking up an interchangeable lens camera, you’ll also need to select a lens, as you won’t be able to use your camera without one. Holt cautions against getting the cheapest option available, as sometimes those are novelty lenses that aren’t widely usable. Or they may not offer autofocus or autoexposure because they don’t feature the components necessary to communicate with the camera body.
Some classes will require specific focal lengths or lens types, so be sure to consult your syllabus or professor first. For example, my photography classes required a 50mm prime lens (or a lens with a single focal length), and we weren’t allowed to use anything else. You can find plenty of camera and lens kits that keep you from buying a separate lens. But those often don’t give you the best bang for your buck and may come with a lens that doesn’t fit the class requirements.
If you have freedom over which lens you can use, a 50mm prime is our top suggestion, as there are lots of advantages to these normal lenses. First, it most closely replicates how our eyes see, so it will make composing your images more natural and simple. 50mm lenses are also typically quite compact and lightweight, offer wide maximum apertures for better low-light performance and creative control, and are generally more affordable than other options.
If you would prefer a zoom lens, a 24-70mm—also called a standard zoom—is your next best option. It’s an extremely versatile choice as you get a bit of wide angle, that nifty fifty focal length, and some telephoto all in one lens body. Or you can find more suggestions for your Sony, Canon, or Nikon camera as well.
Memory cards and storage
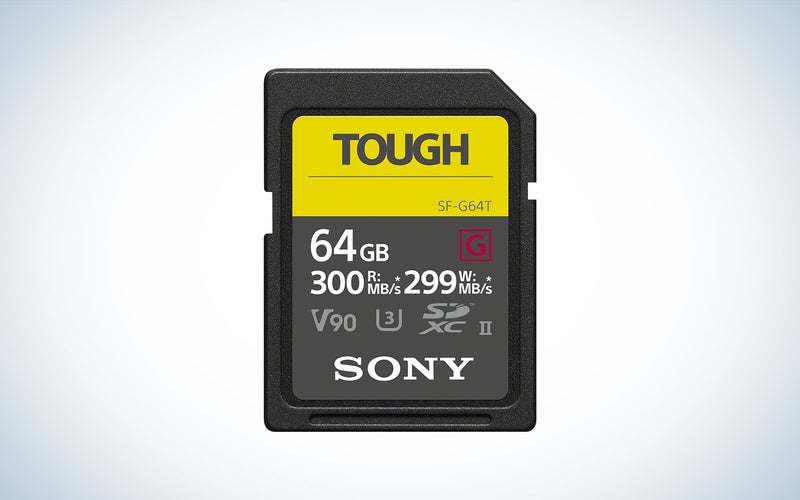
Sony
Though small and simple (and rather boring), memory cards are the second most vital piece of equipment. Cameras do not offer internal memory, so in order to actually record photos, you’ll need a memory card. Cameras will utilize different types of memory cards, with the two most common being SD and CFexpress Type B. And beyond card type, some cameras are only compatible with certain speeds or card classes, such as UHS-II, so be sure to look carefully at what your camera works with before purchasing something.
We also recommend spending a bit more on a card from reputable brands such as Lexar, SanDisk, Sony, Prograde, or OWC. Going with a cheap card, at best, may not function in your camera. At worst, it could fail, and you will be without all of your photos that you worked hard to create for a project. And while you’re picking out a quality card, don’t forget a card reader. Most computers no longer have one built in, and a good card reader will let you get those fast speeds that the card actually advertises.
Other than a memory card, we would also recommend investing in a hard drive—either a portable SSD or a desktop drive—to keep your files safely backed up. That way, if something happens to your memory card or computer and it’s time to turn in a project, you will have another copy to pull from to turn your work in on time.
Tripod
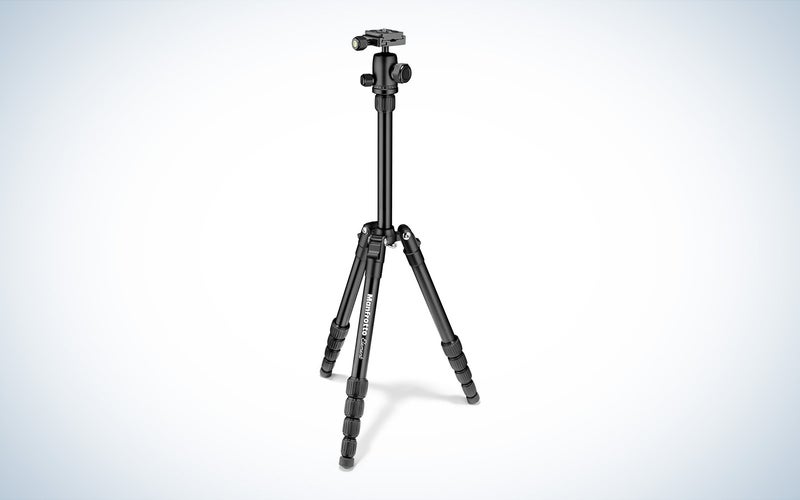
Manfrotto
Tripods tend to be overlooked with new photographs building out their kits. Holt says she sees lots of students skipping the tripod, thinking that they can hand-hold the camera for 15 seconds and still get sharp results. Or she sees students opting for extremely cheap tripods, which also don’t work well for longer exposures and don’t last very long.
Instead, Holt stressed that a quality tripod will be worth your money, as it can make a world of difference in getting sharp, clear images. If you don’t have money for a sturdy tripod, she suggests teaming up with a friend to split the cost and share it throughout the semester. Luckily, you can find some budget tripods that will still work well for around $100 or even slightly less. If you do want to splurge and get the best, carbon fiber tripods offer a lot of advantages. Or, if you know you want to travel a lot, check out these travel-friendly tripods.
Camera bag
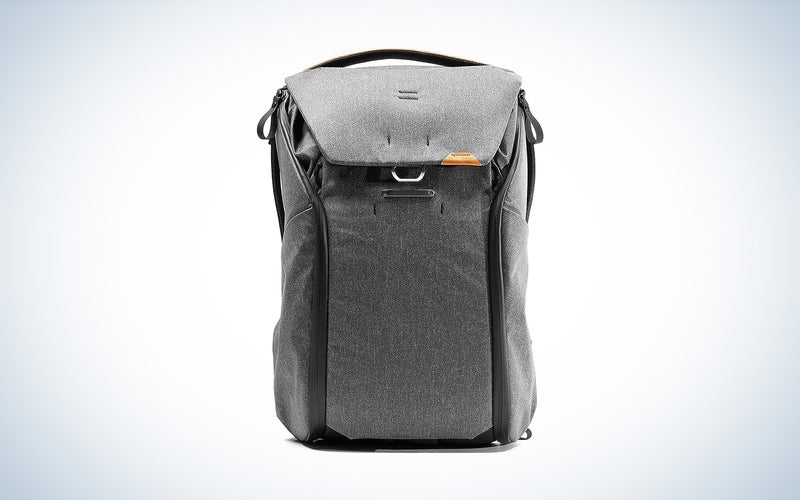
Peak Design
Though not as critical as a camera, lens, or tripod, a camera bag is also an important tool to have. A comfortable camera bag makes it easier to bring your camera places, which is crucial to grabbing good photos for your class (and in general). In fact, Holt says one key takeaway from a workshop she took was to take your camera everywhere. You camera doesn’t do you any good if you don’t have it on you. And if you always have it on you, you’ll want to make sure it’s protected. Cameras aren’t cheap pieces of equipment, so keeping it safely tucked in a camera bag when not in use is a good way to keep that investment safe.
Camera bags come in a wide variety of shapes, sizes, and styles. Here are some of our favorites.
Editing software
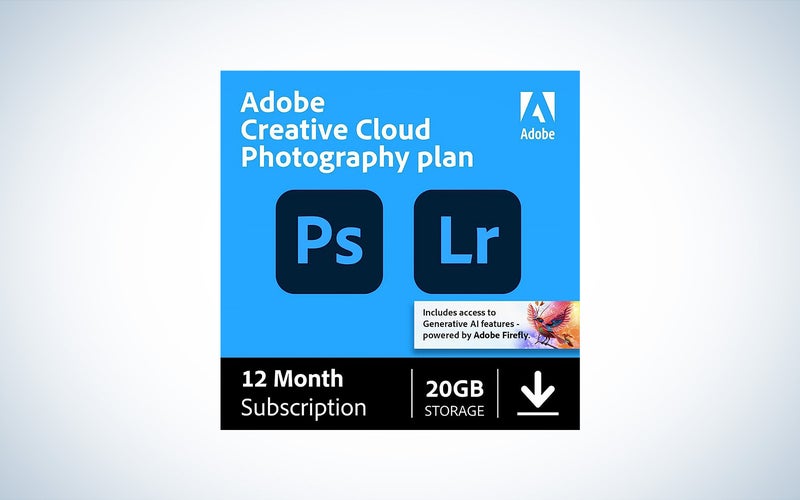
Adobe
Taking photographs (or videos) with your camera is typically just one step in the process of creating a photograph. Most classes will also require that you work on editing your images for at least part of the class, so you will need to make sure to have access to an editing program. Some classes may require that you use a specific program, so again, be sure to check your syllabus or ask your professor first. But, generally speaking, Adobe’s suite of programs will be the most commonly recommended.
Where to buy & how to save
Your professors understand that buying photography equipment isn’t cheap. They’ve had to go through the same thing you are now. Buying your expensive gear through reputable sources, however, will ensure that you are actually getting what you think you are buying so that your money is well spent. Adorama is one of our favorite sources for photography equipment, as is B&H. Amazon is also an excellent resource; just be sure that you are buying from Amazon directly and not a questionable third-party seller.
If you want to save some money, buying used is a great way to do so. Adorama and B&H both offer a wide selection of trustworthy used equipment, from lenses and cameras to lighting and even computers. Or, if you are debating what to buy and want to try something first—which we’d suggest when choosing a new lens—Lensrentals is a fantastic resource. Plus, you can decide to buy it after trying it out, which is very convenient!
