Tamron’s 150-500mm f/5-6.7 is now available for Fujifilm X-Mount
This telephoto is compact and lightweight, making it ideal for travel and wildlife photography.
Tamron is bringing its versatile 150-500mm f/5-6.7 Di III VC VXD zoom lens to Fujifilm X-mount. Originally announced in April 2021 for Sony E-mount, the lens will provide a long-reaching 225-750mm equivalent field of view on Fujifilm cameras. And thanks to a surprisingly compact size, it shouldn’t feel out of place on the brand’s smaller cameras.
Design & build
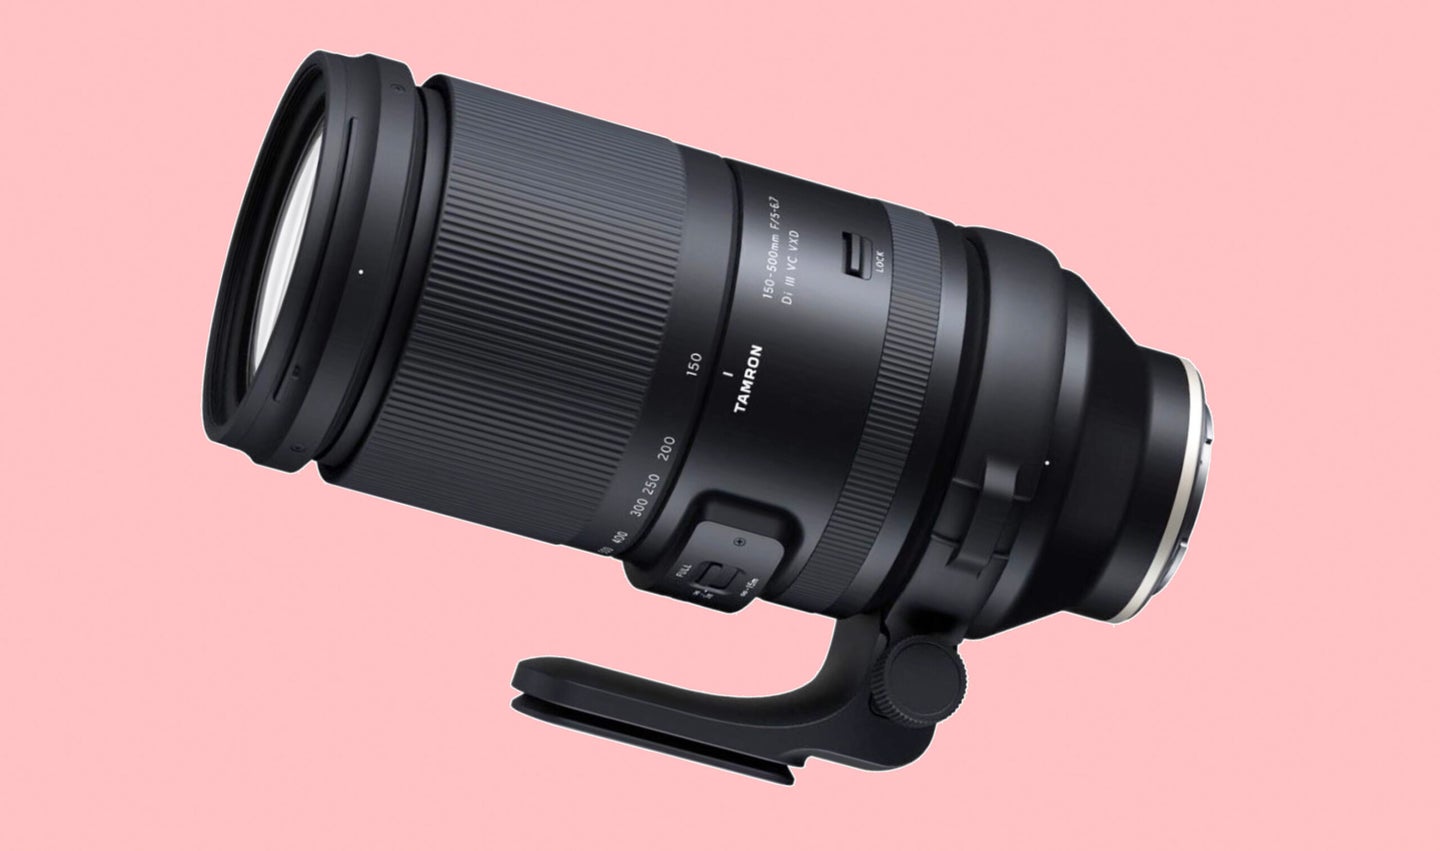
Tamron’s 150-500mm telephoto for X-mount is only 3.7 inches in diameter with a length of 8.3 inches at its most compact and 11.1 inches when zoomed to 500mm. Weight-wise the lens is 3.77 pounds, which is quite impressive for such a long-reaching telephoto. The compact size should make ultra-telephoto photography much more approachable and attainable.
The lens zoom ring has a short throw distance of just 75 degrees from 150mm to 500mm, making it quick to adjust focal length, so you don’t miss any critical moments. The barrel of the body offers a zoom lock, to hold the current zoom position, and a focus limiter switch. There is also an “MF Speed” switch. This allows you to adjust the speed of the manual focus ring for better control. It should be especially handy for detail shots when you want exceptionally precise focus.
Related: Tamron’s far-reaching 50-400mm f/4.5-6.3 full-frame zoom is coming this fall
Tamron outfitted its new 150-500mm lens with its capable Vibration Control (VC) system (Tamron’s name for image stabilization) to help with achieving sharp images. A “VC Mode” selection switch offers three settings—Standard, Panning, and Framing Priority—so you can choose which best fits the current situation.
A VXD (Voice-coil eXtreme-torque Drive) linear motor drives the autofocus, which should result in fast and precise acquisitions. Tamron also notes that the AF motor should operate both silently and with minimal vibration, something video shooters will surely appreciate, as well as stills shooters in quiet settings.
The lens features a moisture-resistant construction and utilizes a fluorine coating on the front element for extra protection. There’s also an Arca-Swiss compatible tripod collar as well as strap attachment holes for easy carrying.
Optics
The optical design of Tamron’s 150-500mm telephoto lens features 25 elements in 16 groups. These include one XLD (eXtra Low Dispersion) element, five LD (Low Dispersion) elements, and two Hybrid Aspherical lens elements. The combination of elements helps to reduce chromatic aberrations, fringing, and distortion. And each element is coated with a BBAR-G2 (Broad-Band Anti-Reflection Generation 2) Coating to improve contrast and reduce flare.
Though it doesn’t offer true macro capabilities, it can focus as close as 23.6 inches at 150mm and 70.9 inches at 500mm for some attractive telephoto detail shots. The maximum magnification ratio is 1:3.1, or the full-frame equivalent of 1:2.1. The rounded seven-blade diaphragm should hopefully produce some attractive bokeh.
Who the Tamron 150-500mm
The compact size of Tamron’s 150-500mm lens, given its focal range, makes it ideal for those wanting a lot of reach without breaking their backs. It will be perfect for nature and wildlife photos while hiking or travel photography. Plus, the affordable price point makes it more widely accessible.
Pricing & availability
The Tamron 150-500mm F/5-6.7 Di III VC VXD for X-mount is available for preorder now, for $1499. Units should ship by mid-October.
